Astral eversign - Help:
Watch the Video
In order to successfully use Astral eversign with Business Central, this step must be completed after step 1: Sign Up & Install.
Open Dynamics 365 Business Central, click on the 'Search' icon and type in "Astral eversign".
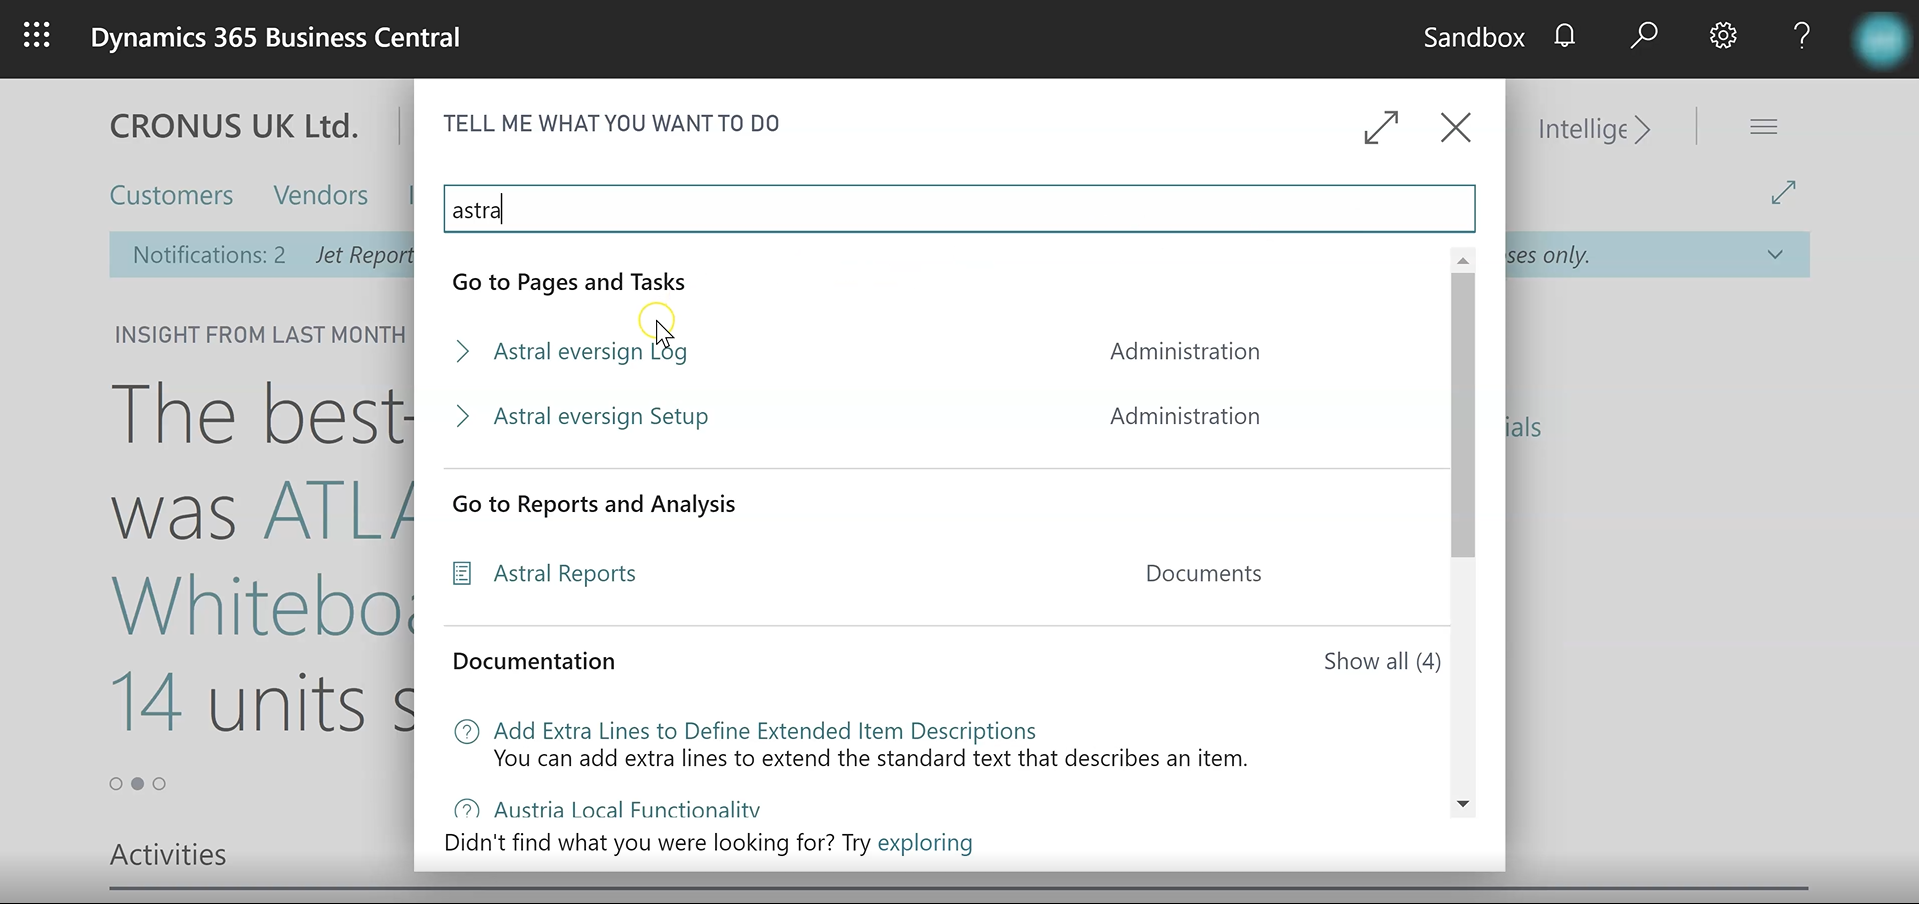
Figure 1 | Astral eversign
You should see 2 pages, the 'Astral eversign Log' and 'Astral eversign Setup'. Click on 'Astral eversign Setup'.
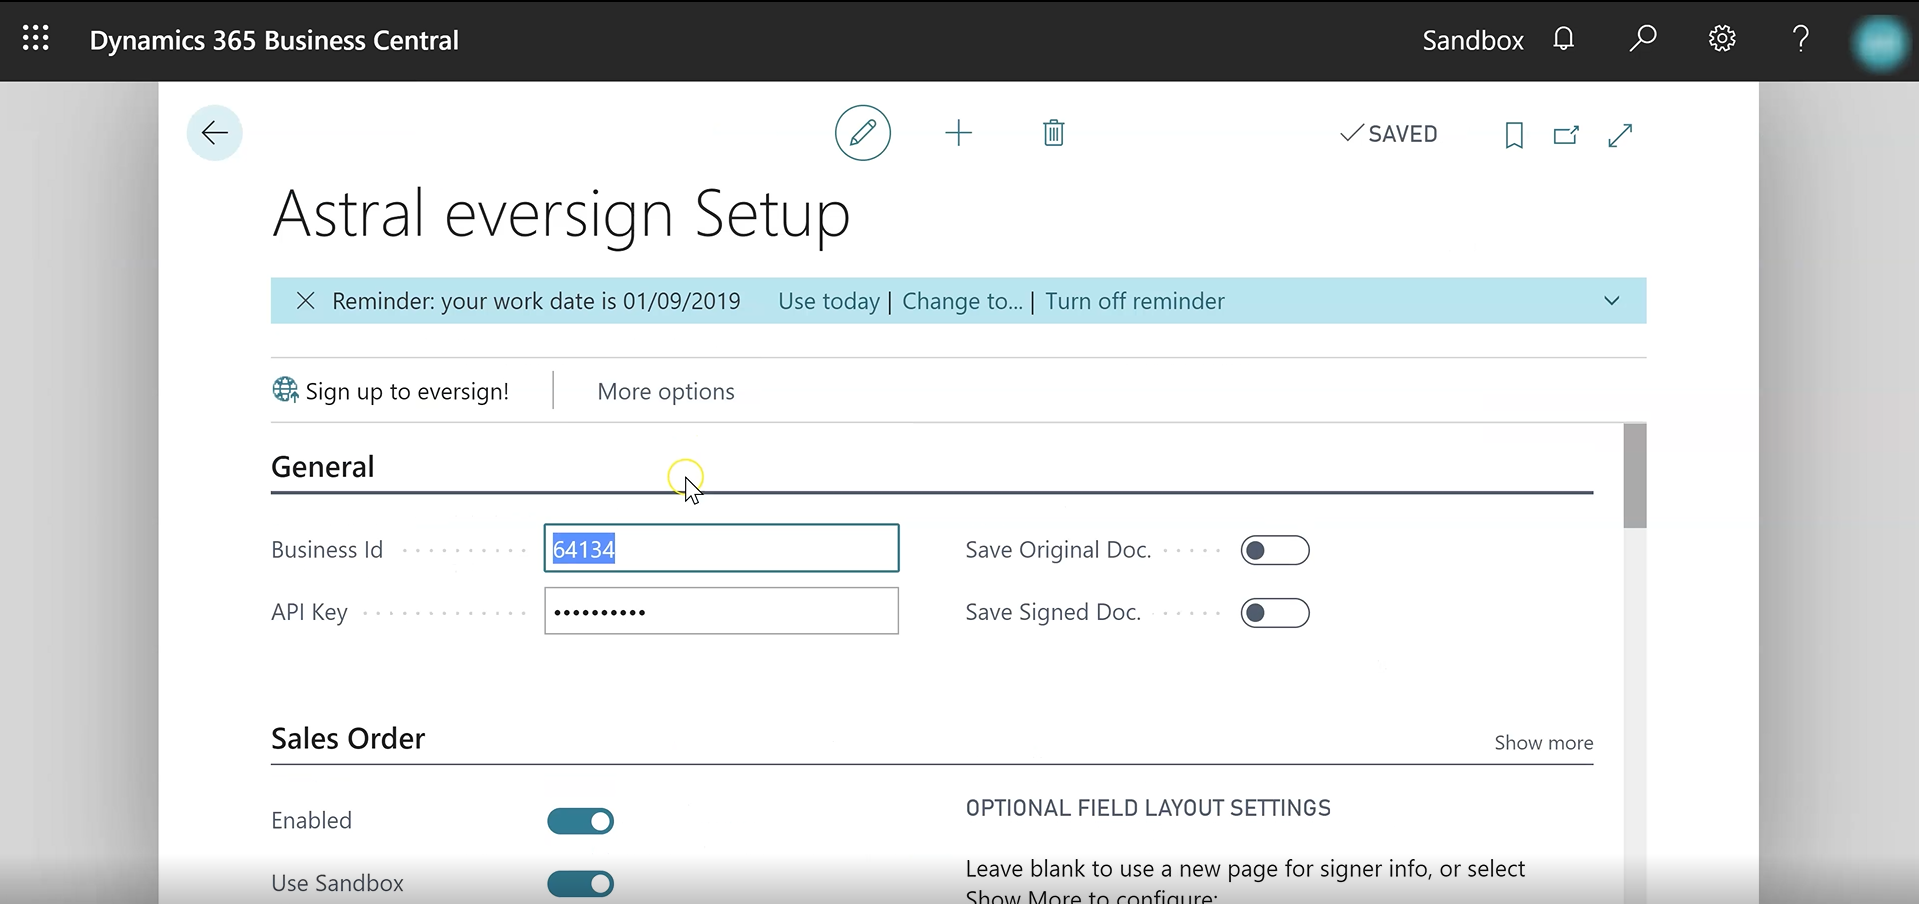
Figure 2 | Astral eversign Setup
The Astral eversign Setup page is where you configure the documents that are controlled by Astral eversign, such as Sales Orders, Service Contracts, Service Orders, and Job Quotes. There is also an 'Additional' FastTab which allows you to 'Debug Downloads', as well as a 'Document Totals' tab, and a 'License Tab'.
The configuration for each document type is the same, so we will demonstrate setting up a Sales Order.

Figure 3 | Sales Order Setup
In Figure 3, you can see the functions that can be adjusted on the document.
'Enabled' - specifies whether you want Astral eversign to control the document.
'Use Sandbox' - specifies whether you want the document to be activated in Sandbox mode. Note: that if 'Use Sandbox' is enabled, any documents sent out will not be valid or binding and are treated as TEST documents.
'Report ID' - allows you the ability to select which report you would like to be associated with the document.
'Message' - this is where you place a message that will appear on all outgoing requests.
Setup each document type, then close the window.